
We got an itch to do something now that our bathroom renovation is wrapping up!
We recently redid our master bathroom by removing and replacing the floor, toilet, and shower. We tiled the shower and put in a nice marble floor for it. The last part is to order the glass, which we have done. Now it’s a waiting game until the glass arrives and gets installed.
We had a large overage of flooring, which we anticipated as we want to use that tile throughout the house. We happened to have just enough tile to do the kitchen. Once that discovery was made, it was over. It took less than 36 hours before we began tearing up the floors.
So, today was demo, here’s what you have to do when removing tile from a concrete slab in a kitchen.
- Remove the baseboards and toe kick molding for cabinets. This is actually more work and tedious than it seems. It really makes you realize just how much baseboard there can be for something small like a pantry. I had a difficult time getting my prying tools in some of the spaces, but eventually managed to remove it all.
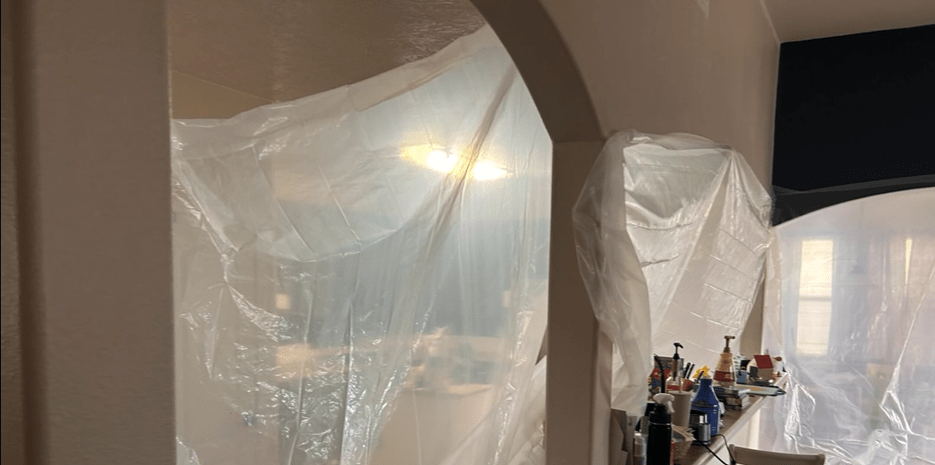
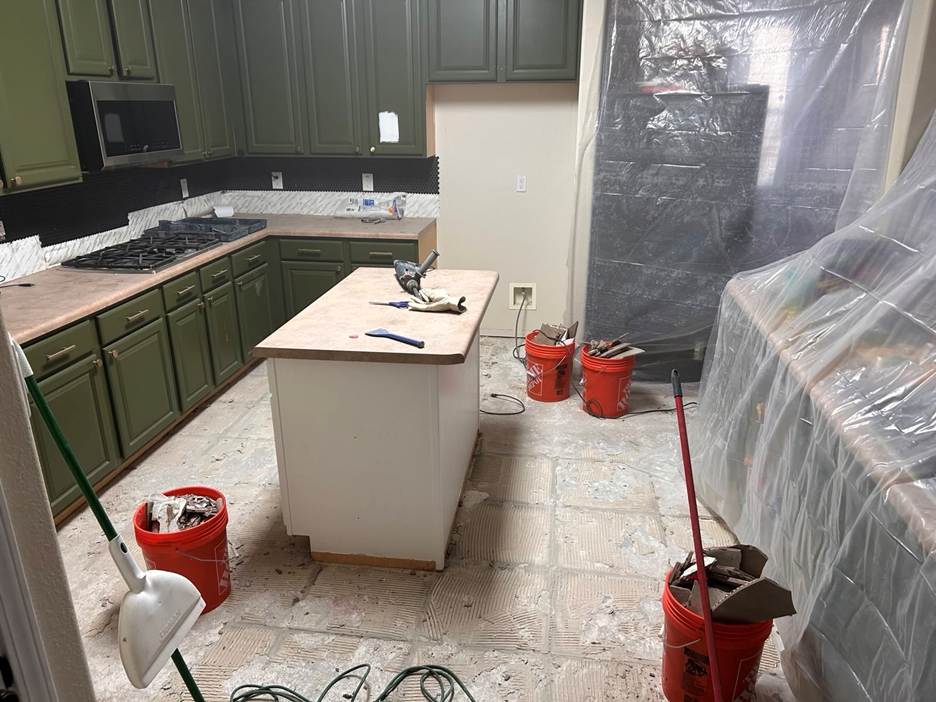
Pro tip: when removing the toe kick molding, save it if you can, that stuff is expensive and usually easy to save! Baseboards are harder to save in my opinion. - Next prep the area – For me this meant removing most things from the counters, placing plastic draping and coverings over the cabinets, sink, dishwasher, pantry, and entry/exit points of the room. I also brought in Home Depot buckets for tile, set up ventilation (several box fans and cracked windows. This, like the baseboards, takes a lot longer than I would like and is tedious. The good news is once it’s done, it usually stays done for the duration of the project.
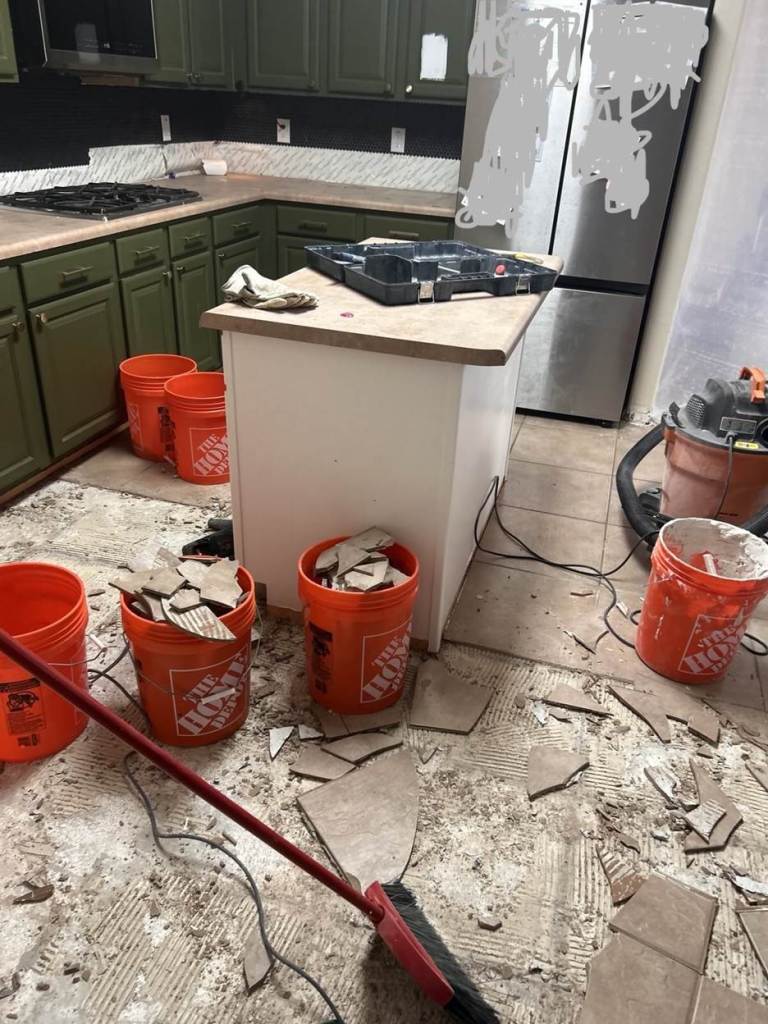
- Demo time! We broke up tile in chunks big and small. We used a rotary hammer drill and a small sledge hammer and chisels. This went fairly quick, with us breaking up half the tiles within 35 minutes.
- Clean-up, everybody clean up! A significant amount of time was spent on the clean up of tiles, wood, debris, and dust. We did clean as we go, taking pause to clean after about 4-6 tiles removed, depending on the mess.
To-Do’s:
While we removed all the baseboards, molding, tile, and most of the thin set, there is still some mortar and thin set that remains. We attempted to use the chisel and the rotary hammer drill and we had some small success. Unfortunately, the area is so large that doing this by hand will take forever.
We will be going to the home improvement store tomorrow to get a turbo cup wheel, which is a diamond cutting wheel that will hopefully remove the remaining thin set in a cinch.
After this, we will be laying down the Schluter-Ditra uncoupling membrane, this is a layer under the tile that provides uncoupling to prevent cracked tile and grout, it additionally acts as a waterproofing layer. Once this is put in with modified thin-set mortar and a float/roller and cured, then the tiles can go on.
After that, the baseboards go back on and any repainting will be done at this time. It’s best to paint before the new tile goes in.
Here’s some photo’s of the demo progress today:


Leave a reply to Shut this shit down and have fun – Creator1 Cancel reply